Patches are cute and lovely!!!
Sort of like stickers, patches are often crafted from chain, satin, and hemming stitches and machine work relies on the use of multiple threads. Advanced technology allows virtually any design to be recreated in thread on an embroidered patch.
Add patches to hats?? WHY NOT!! There’re many kinds of patches, embroidery patch, woven patch, leather patch, rubber patch, screen printed patch, pressing patch, felt patch, metal patch etc. In today’s article, we would introduce those kinds of patches to you and as always, hope you enjoy this introduction to patches, and would love those cute and cool things.
WHAT ARE YOU WAITING FOR? Let’s ROLLING, ROLLING ON!!
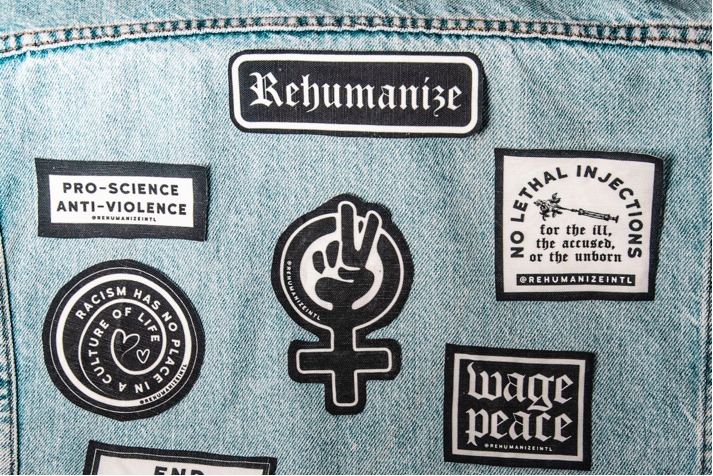
Photo by Maria Oswalt on Unsplash
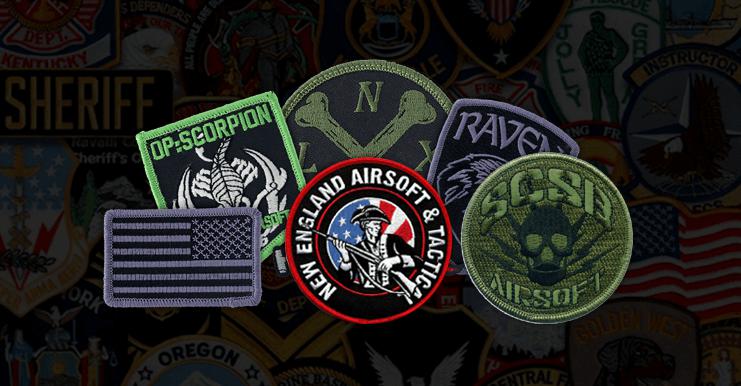
Photo from Artistic Patched Blog
Photo by Robbie Noble on Unsplash
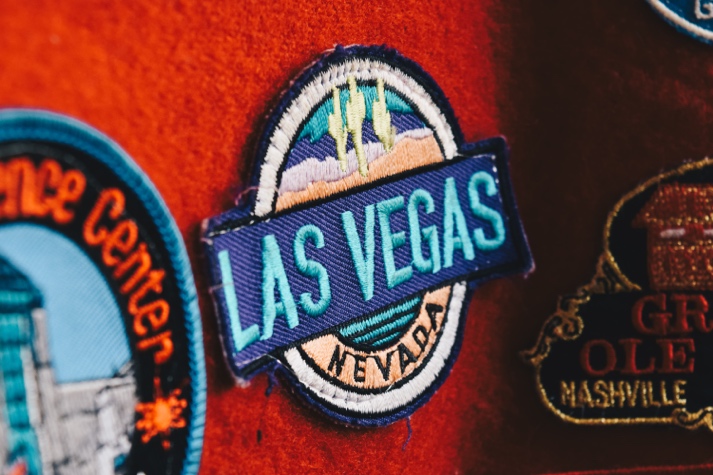
Photo by Ryan Stone on Unsplash
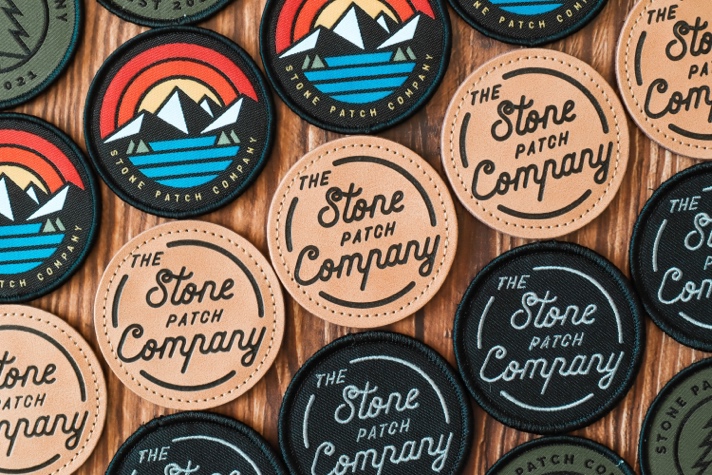
Articles would come with questions, and the quest for knowledge never ends.
So, question No.1, what is a logo patch?
An embroidered patch, also known as a cloth badge, is a piece of embroidery which is created by using a fabric backing and thread. The art of making embroidered patches is an old tradition and was originally done by hand.
Then, question No.2, what is a branded patch?
The brand patch is a leather or 'leather-like' jacron label positioned on the waistband of jeans above the right back pocket. The purpose of the patch was originally to inform customers of the strength of the product and to help them identify the brand.
Question No.3, what size is a patch on a hat?
Usually the Loop Area on Hats is about the size of a standard American Flag Patch, 3″x2. 5″. We recommend our customers to stick with this as the maximum size for your patch.
There’re mainly three ways to connect hat with patches: glue, or iron, or just hand sew. Details are as follows:
The first one, usually, obtain glue or fabric glue form your local retailer (or Amazon) and simply squeeze a layer of glue onto the backside of the embroidered patch. Place firmly on the custom hat and hold for 30 seconds or more, then…done!
Also, you can put an iron directly on a patch. Iron a patch onto most fabric surfaces by using heat and pressure to activate the adhesive backing on the patch. In most cases, you will want to use a temperature of 270℉ and a pressing time of around 30 seconds, though you should follow any specific instructions that came with the patch.
Or, you can hand sew a patch on a hat. If you're left handed, place it on the middle finger of your left hand. Turn your hat inside out and push your needle through the hat and patch simultaneously using your thimble finger. From the inside, pull the needle and thread through all the way. Do this process slowly to ensure your thread does not become tangled.
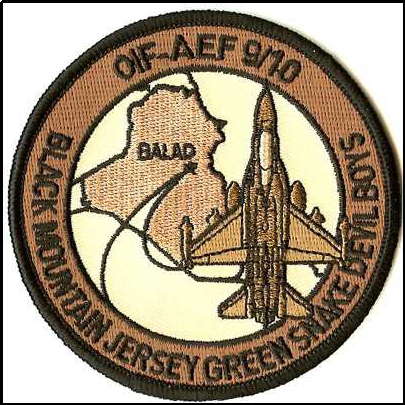
There’s never an end of learning, and one example, learning how to sew a patch on a hat may involve a little practice and patience, but in the end the result will look great.
Tools You’ll Need are: custom patch, hat, needle (size 10), thread that matches your patch, glue, thimble, and scissors.
Begin by placing the hat on your head to help determine exactly where you’d like to place the patch.
Glue the patch on the hat to ensure it doesn’t move while you’re sewing it.
Select thread that matches your patch boarder and carefully thread a size 10 needle.
If you’re right handed, place a thimble on the middle finger of your right hand. If you’re left handed, place it on the middle finger of your left hand.
Turn your hat inside out and push your needle through the hat and patch simultaneously using your thimble finger.
From the inside, pull the needle and thread through all the way.
Continue to sew small stitches by pushing the needle in and out of the boarder of the patch connecting it to the hat.
Once the entire patch is sewn onto the hat, cut the thread and tie a knot.
Now that you know how simple it is to learn how to sew a patch on a hat, it’s time to create your own custom patches! Logo patches always look great on hats, and they’re ideal for promoting brand awareness. Hat patches are also perfect for sports teams and annual events.
If you’d like help creating your custom hat patches, request a free quote from Foremost today. We have created countless custom hat patches for long.
Tips are, if the fabric and the patch are made of heavy material, you may need a thimble to push the needle through on each stitch.
If you're sewing a decorative patch, you can also use a whipstitch to sew it in place. Bring your needle up through the material and patch at the inside edge of the border, and push the needle back through on the outside edge of the patch. Again, make your stitches close together for the best-secured position.

Photo from Artistic Patched Blog
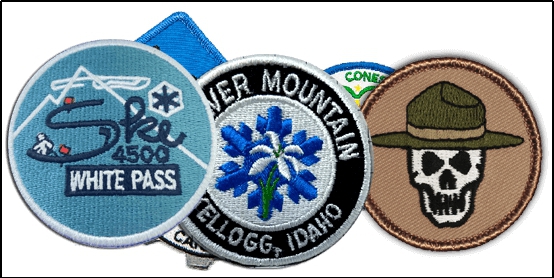
Photo from Artistic Patched Blog
Who invented patches?
Well, the creation of embroidered patches first began in China somewhere in the 5th – 3rd century BC. The Chinese used various sewing techniques to mend, patch, and tailor cloths, which led to sewing decorative designs in them.
Embroidered patches are considered pieces of art and can be used for a wide variety of occasions – they can be used to represent a company or organization, as a commemoration, to display achievements, to identify military personnel, or simply for decorative purposes.
Of course, there’re many kinds of patches, embroidery patch, woven patch, leather patch, rubber patch, screen printed patch, pressing patch, felt patch, metal patch etc.
An embroidered patch, also known as a cloth badge, is a piece of embroidery which is created by using a fabric backing and thread. The art of making embroidered patches is an old tradition and was originally done by hand.
Woven patches, they are lighter and thinner than embroidered ones. They’re flat to touch and have no raised thread (except for merrowed or heat cur satin borders). Embroidered patches are produced with rayon thread, which is thicker than woven patch thread.
Leather patch, best for fashion brands, outdoors brands, backpack and bags labels, giveaways, faux, leather/leatherette is pretty popular for patches too because it's so flexible.
There goes rubber patch, rubber is formed in a living organism, natural rubber consists of solids suspended in a milky fluid, called latex. How do rubber patches work? Well, the most common vulcanizing method is to treat natural rubber with sulfur, which causes a chemical reaction that softens the touching materials and binds them together, increasing the rubber's rigidity and durability.
As for screen printed patch, display screen printed patches are published on large sheets of twill and then reduce with a laser into the desired shape and size. Many fashion brands select screen revealed screen printed patches rather than woven labels as a completely unique and certain emblem identifier.
When you think of felt patches, the first thing that comes to mind may be embroidered patches on a varsity jacket or elbow patches on a sweater. Felt patches offer a different look than embroidered patches; these patches are both simple and classic.
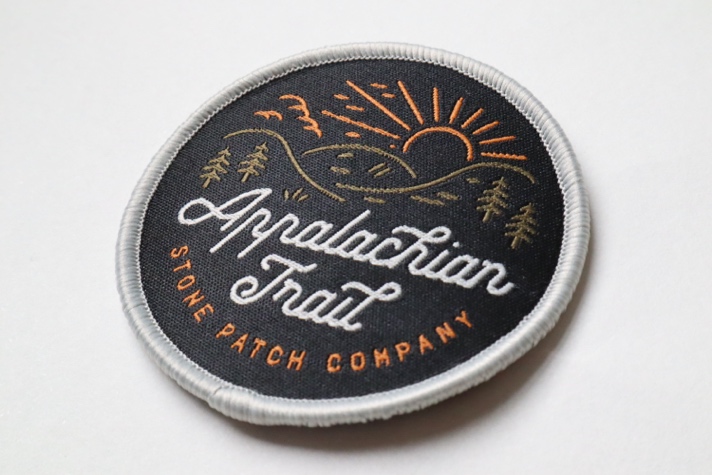
Photo by Ryan Stone on Unsplash
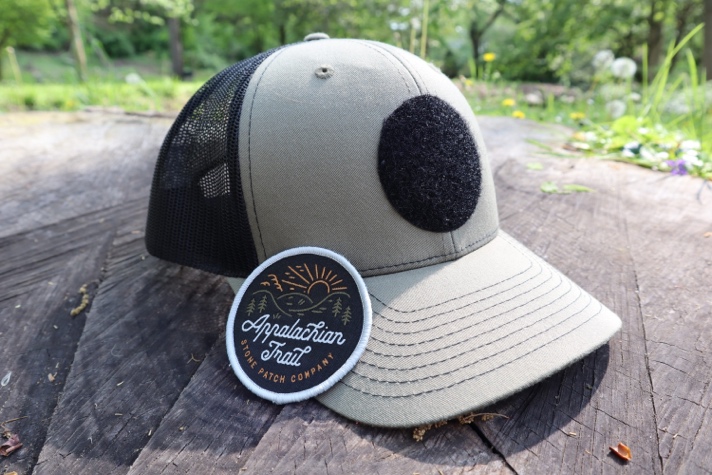
Photo by Ryan Stone on Unsplash
With the classic style that customers expect, the embroidered emblem harkens back to those giveaway caps of yesteryear.
Pros: The vintage look is a natural fit and the dimension and shine of embroidery creates welcome visual interest, even with single-color designs.
Cons: Like all embroidery, smooth gradients, fine details, and small text can cause problems. Even when outsourcing, depending on the patch supplier, digitizing fees may apply.
This full-color process creates photorealistic, durable images on polyester. A favorite fiber used with extreme regularity both in pre-edged patch blanks and for appliqué materials.
Pros: If you have a heat press, you can order transfers from a supplier and sublimate your pieces. Moreover, if you are looking to add a full-color digital printing process to your shop, sublimation has one of the smallest financial bars to entry.
Cons: It only prints on polyester, and though you can print on some light colors, getting a full gamut of colors is only possible on white. With patches, you can easily print the entire surface to look like any color you need behind your main image, but color matching can be difficult.
This technology that most of us associate with woven clothing labels is actually capable of producing finely detailed multi-colored emblems, ripe for attachment to your favorite headwear.
Pros: Extremely fine detail is possible. And, unlike printing, the image does have some surface texture.
Cons: Woven emblems are very flat, despite appearing less so than prints. They are much flatter than embroidery and have none of the benefits of multiple stitch angles. Woven patches also need to be outsourced.
DTG (direct-to-garment) gives us a look comparable to screen printing with the relative ease of the digital processing. It allows us to print on non-polyester and, depending on the printer, dark-colored substrates.
Pros: Digital production makes the design phase much easier and less costly, allowing you to print fine detail and full color on a wide variety of background materials.
Cons: If you aren’t already a DTG printer, it’s one of the most expensive methods on this list. Though DTG shares the flat nature of sublimation, the look of a DTG or screen-printed piece can sometimes come off as “cheap” to certain clients. Adding a stitched edge or other effect can mitigate this, but some clients simply won’t accept the look in this context.
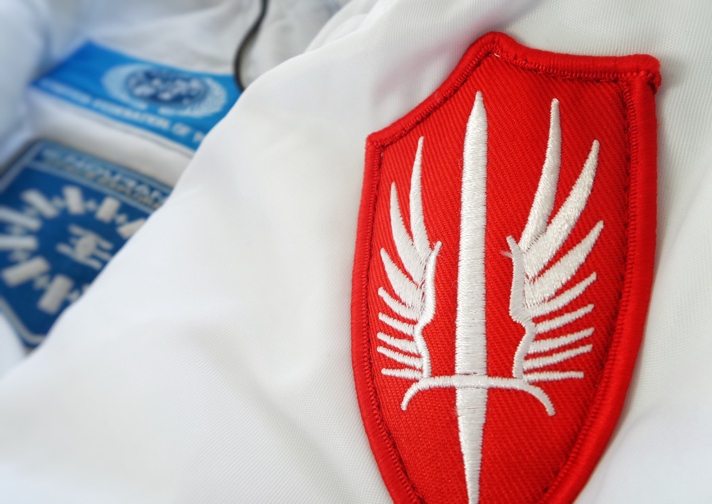
Photo by Possessed Photography on Unsplash
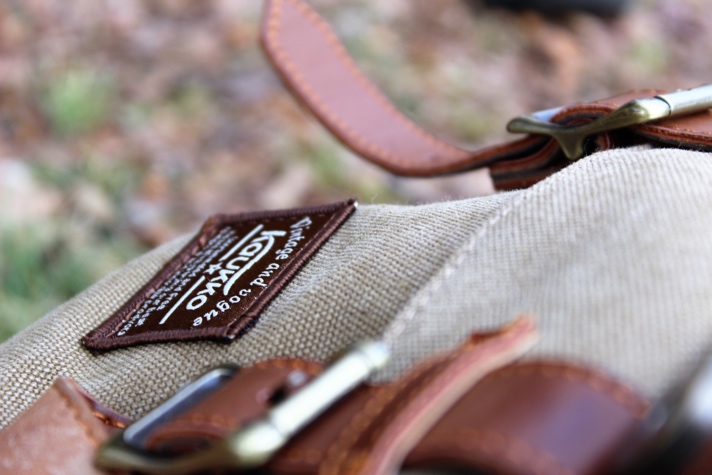
Photo by Joey Girouard on Unsplash
“The young do not know enough to be prudent, and therefore they attempt the impossible, and achieve it, generation after generation.” Pearl S. Buck once said that.
Patch can remind people of youth, for their diverse categories, all different drawings and pictures, all different kinds of materials, they’re able to be connected to the headwear, therefore become part of the fashion industry, then win the favor of people.
[Foremost, can always provide you with…patches…logos…hats…]
Hope you would enjoy today’s article, and if there’s any questions or comments or new things you would like to talk about, just comment below and we would get back to you as quickly as possible!!